How to Install Flashing Around a Chimney
Installing flashing around a chimney is crucial for preventing leaks. It protects your home from water damage. Proper flashing installation can extend the life of your roof.
This guide will walk you through the process. You’ll learn about the tools and materials needed. We’ll cover safety precautions to ensure a smooth installation.
Understanding the different types of flashing is important. Step flashing, counter flashing, and apron flashing each serve a unique purpose. Knowing when and how to use them is key.
A chimney flashing kit can simplify the process. It provides all the necessary components for a successful installation. We’ll also discuss the costs involved and how to save money.
Whether you’re a DIY enthusiast or a contractor, this guide is for you. It offers detailed instructions and diagrams. You’ll gain the skills needed for a leak-free chimney.
Let’s get started on this essential home improvement project.
Understanding Chimney Flashing: Purpose and Types
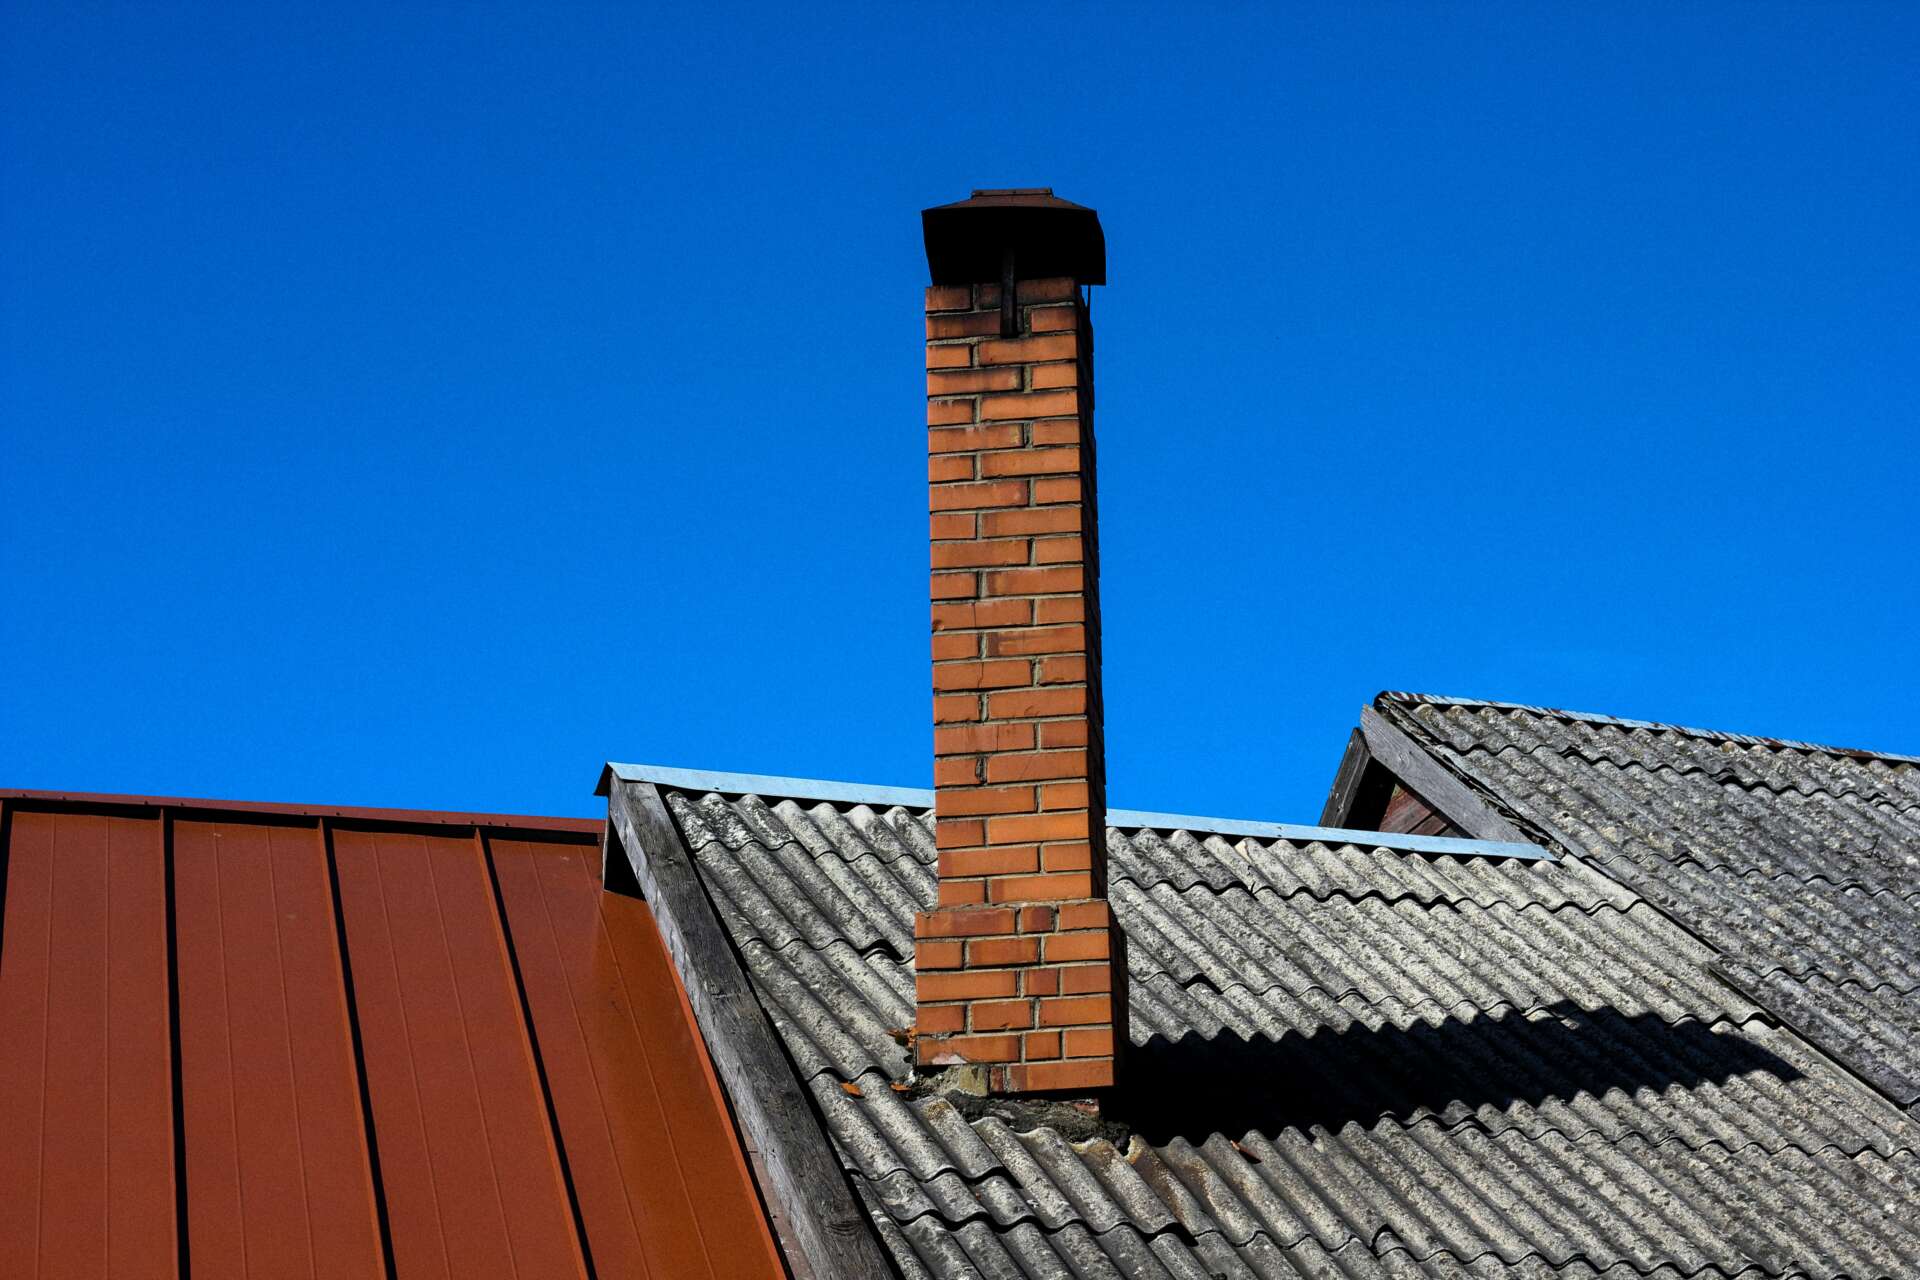
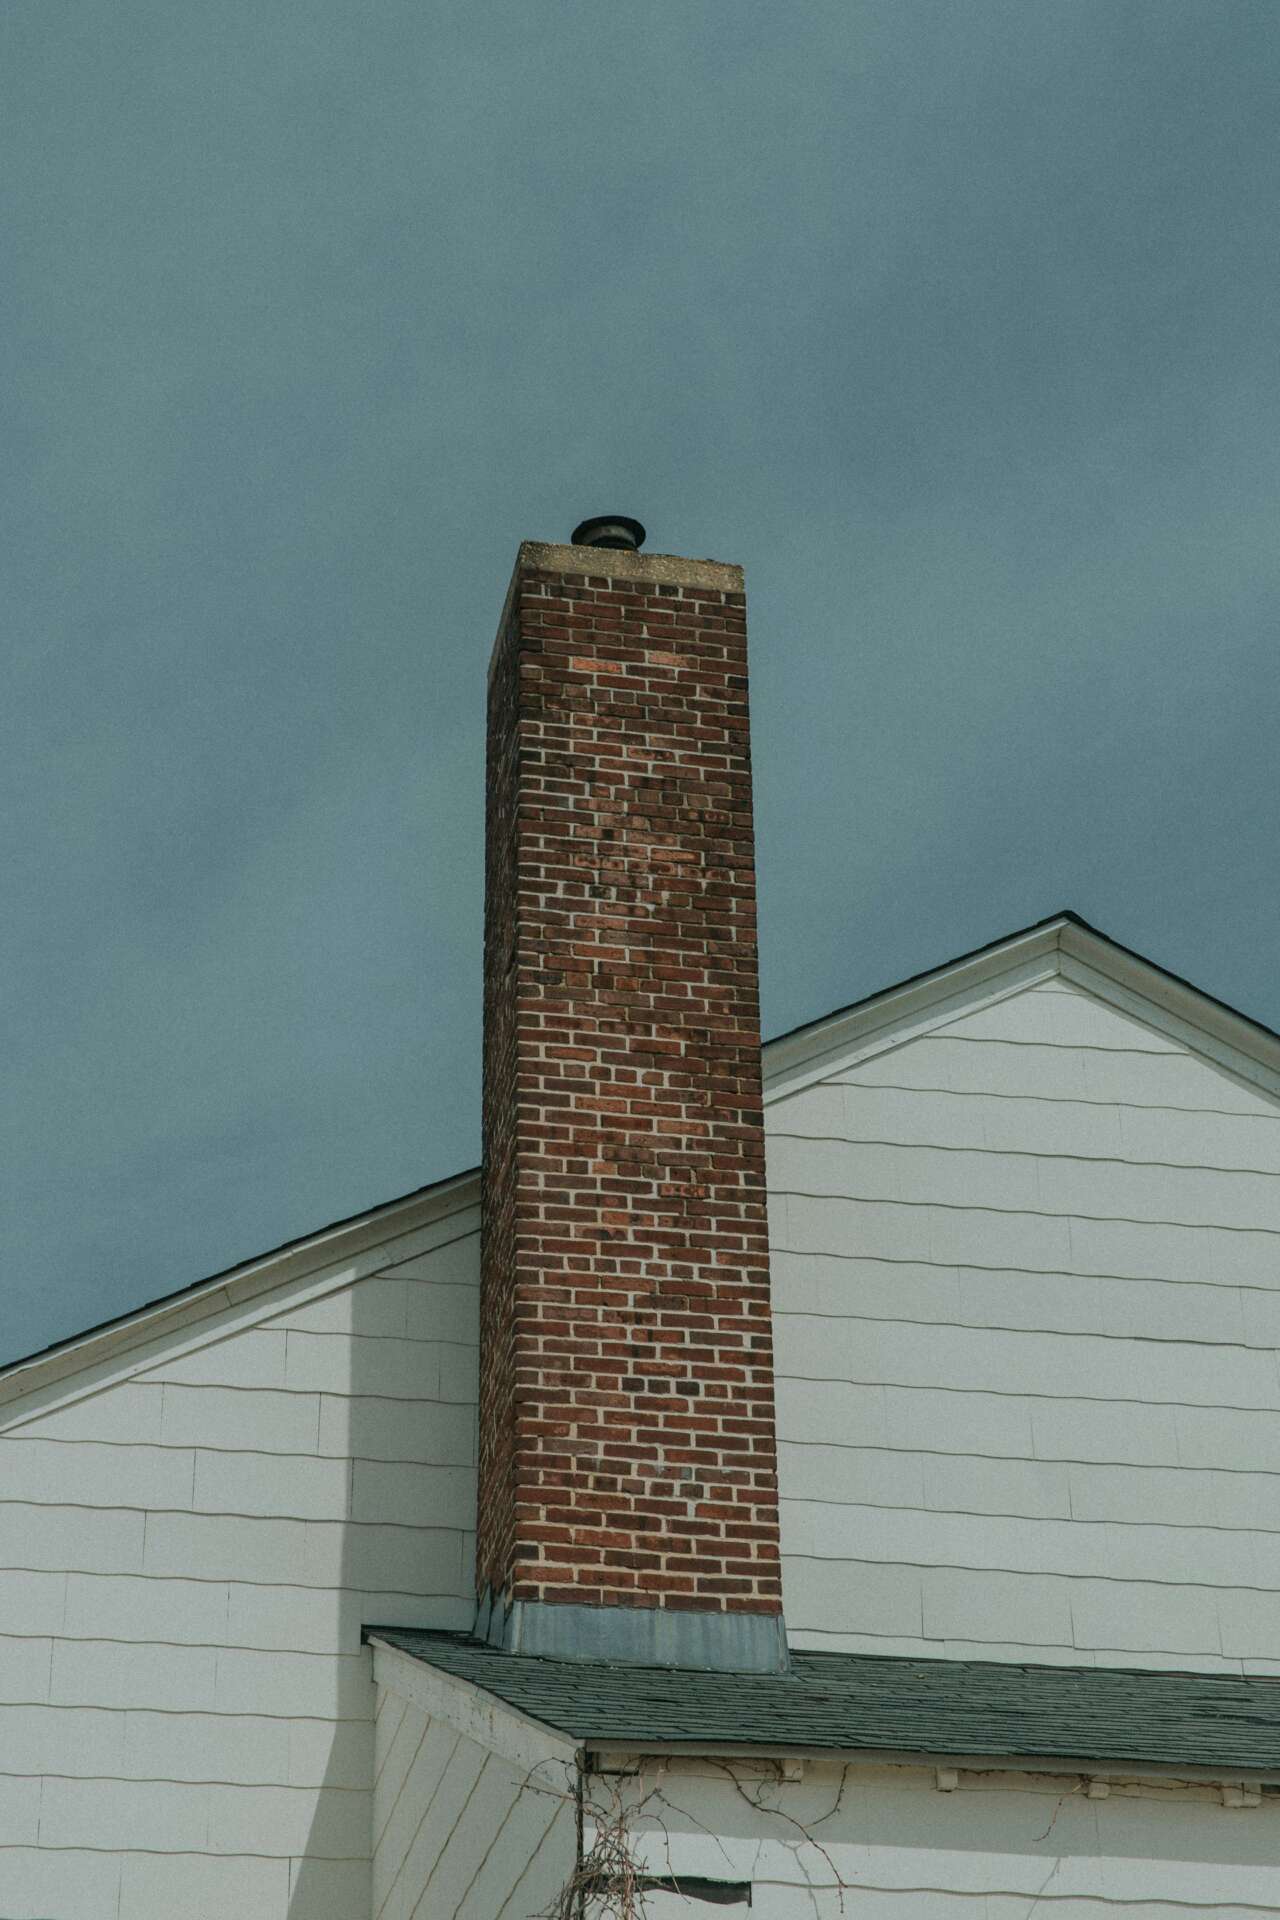
Flashing around a chimney is a vital component of a well-protected roof. Its main function is to prevent water from seeping into the home. Without proper flashing, serious water damage can occur.
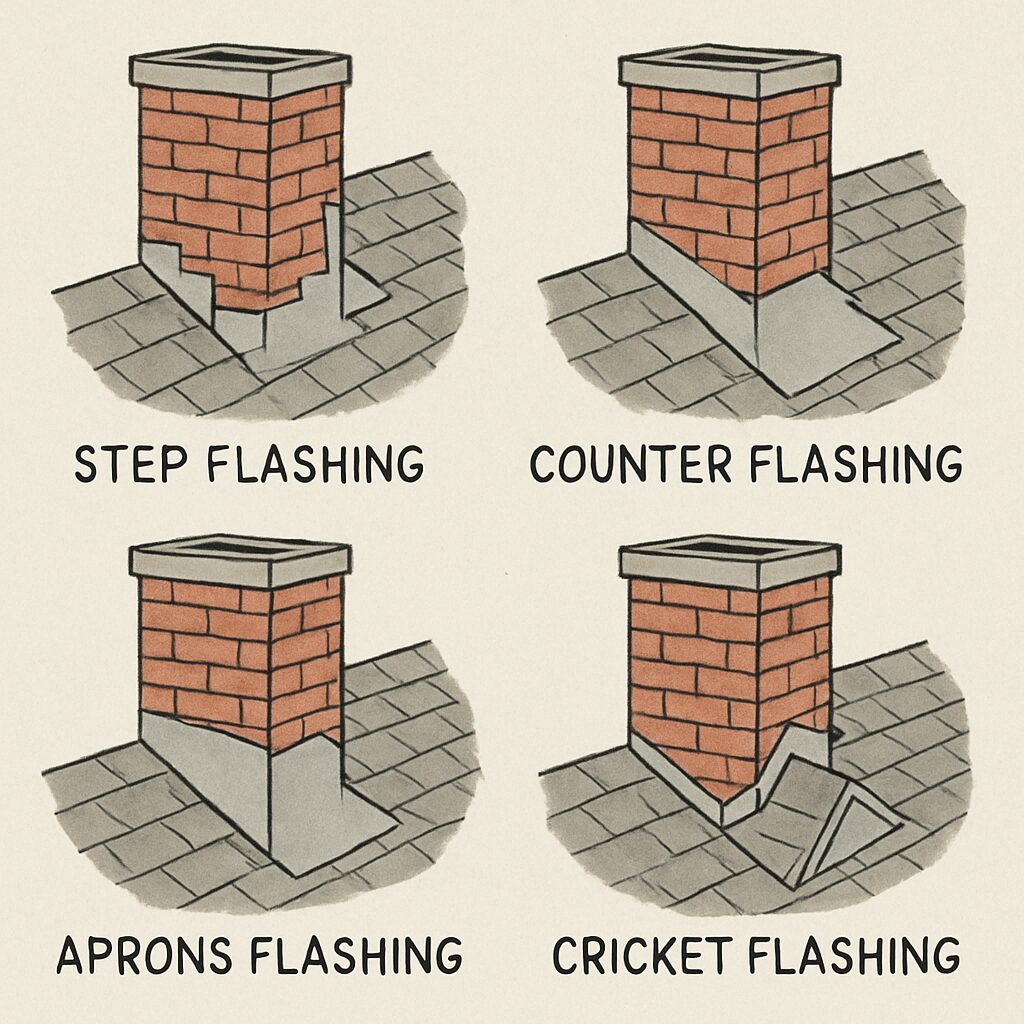
There are several types of chimney flashing, each designed to manage water in a different way. The three most common types are step flashing, counter flashing, and apron flashing. Knowing the difference between them is essential for a successful installation.
- Step Flashing: Installed under shingles, it guides water away from the chimney base.
- Counter Flashing: Secured to the chimney, it covers step flashing, providing an extra layer of protection.
- Apron Flashing: Positioned at the chimney’s base, it directs water onto the roof, keeping it away from the building.
Each type plays a specific role in water diversion. Correct installation of these components ensures a watertight seal around the chimney. This seal is crucial for roof leak prevention.
Choosing the right materials also influences the effectiveness of flashing. Common options include aluminum, copper, and galvanized steel. Durability and compatibility with your roof matter in selecting materials.
Tools and Materials Needed for Chimney Flashing Installation
Before starting, gather the right tools and materials for the job. Having everything prepared will save time and reduce frustration. Ensure that all your equipment is in good condition and ready for use.
The materials you choose should be durable and match your roof’s aesthetics. Whether you opt for aluminum, copper, or galvanized steel, make sure it’s suitable for your specific roofing needs. Quality materials are crucial for long-lasting protection.
Key tools and materials include:
- Hammer and nails
- Utility knife
- Metal snips
- Roofing cement
- Measuring tape
- Safety gear (gloves and goggles)
- Ladder
With these tools, installation becomes more efficient and safer. Always prioritize safety by using proper gear and stable ladders when working at heights.

Safety Precautions Before You Begin
Safety is paramount when installing chimney flashing. Working on a roof involves risks, and proper precautions are essential to minimize hazards. Always put safety first to prevent accidents and injuries during the installation process.
Before starting the project, inspect your tools and safety gear to ensure they are in good condition. Double-check the ladder’s stability and placement before climbing up. A secure ladder reduces the likelihood of falls.
Consider these safety tips:
- Wear non-slip shoes to maintain steady footing.
- Use a harness if the roof is steep.
- Never work in wet or windy conditions.
Taking these precautions protects you and ensures a smoother installation process. Remember, a safe work environment allows you to focus better and achieve professional results.
Step-by-Step Flashing Installation Guide
Installing flashing requires careful planning and execution. This step-by-step guide covers the essentials, ensuring an effective barrier against moisture infiltration. Follow these steps methodically to achieve professional results.
Start by gathering all necessary tools and materials. Confirm you have a hammer, utility knife, flashing material, and roofing nails. Use quality sealants for durability.
Prepare the surface by cleaning debris and dirt. A clean working area ensures flashing adheres properly. This preparation step is crucial for long-lasting performance.
Here is a brief overview of the installation steps:
- Prepare the chimney and roof surface.
- Install step flashing along the roof.
- Secure counter flashing into the chimney mortar.
- Add apron flashing at the base.
Keep this diagram handy to visualize each step clearly. It simplifies the overall process when referring back.
Preparing the Chimney and Roof Surface
Begin by examining the chimney and roof for any damage. Repair cracks or missing shingles promptly to avoid complications later. A sound base is crucial for effective flashing.
Next, clean the surfaces to remove dust and debris. Debris can prevent flashing from sealing correctly, leading to potential leaks. Use a brush or blower to ensure a spotless area.
Assess the roof pitch and mark lines to guide flashing placement. This step helps maintain straight, clean lines during installation. Accurate measurements are essential for a snug fit.
Here’s what you’ll need:
- Measuring tape
- Chalk line
- Roof cleaning tools
Installing Step Flashing
Step flashing is installed in a layered fashion with shingles. This method diverts water seamlessly off the roof. Begin at the lower edge, working upwards.
Cut the flashing pieces to size using metal shears. Each piece overlaps the previous one for continuous protection. Secure each piece with roofing nails.
Ensure each flashing piece is tucked under roof shingles. This integration with roofing materials optimizes water diversion. Maintain consistent spacing for uniformity.
Material checklist for step flashing:
- Metal flashing sheets
- Metal shears
- Roofing nails
Installing Counter Flashing
Counter flashing is pivotal for sealing the chimney to the roof. It is typically embedded in the chimney mortar for a lasting hold. This step protects against water seepage around the chimney.
Cut the counter flashing into manageable segments. Each piece should fit the chimney’s contour precisely. Use a grinder for cutting if necessary.
Embed the lower edge of the counter flashing into the mortar. Secure it using masonry nails for stability. Apply sealant along the edges to enhance waterproofing.
Don’t forget:
- Masonry nails
- Metal grinder
- Weatherproof sealant
Installing Apron and Back Pan Flashing
Apron flashing directs water away from the chimney’s base. It is especially useful in preventing water from pooling. Secure it tightly against the chimney to keep water at bay.
The back pan flashing sits behind the chimney, aiding in diverting water. It acts as an added layer of protection. Proper alignment is critical for effective drainage.
Cut the flashing pieces to match chimney dimensions. Secure them with roofing nails, ensuring no gaps remain. Seal edges with a quality weatherproof sealant.
Checklist:
- Apron flashing
- Back pan flashing
- Weatherproof sealant
These flashing installation steps create a waterproof, lasting barrier around the chimney. By following each guide, you fortify your roof against leaks and extend its longevity.
Chimney Flashing for Metal Roofing Installation
Installing chimney flashing on metal roofs requires special considerations. Metal roofing expands and contracts with temperature changes. Therefore, flexibility in flashing material is crucial to prevent damage.
Choose flashing materials that accommodate movement, such as butyl tape or EPDM rubber. These materials ensure the flashing remains secure during metal roof shifts. Select materials with high-temperature resistance for durability.
Pre-cutting flashing pieces to fit the unique contours of a metal roof is essential. Precision cuts reduce future alignment issues. Use snips designed specifically for metal to avoid damaging the roof panels.
Here’s what you need for metal roof flashing:
- Snips for metal cutting
- Butyl tape or EPDM rubber
- Non-corrosive fasteners
Apply sealant that adheres well to metal surfaces for additional protection. This step prevents moisture from penetrating gaps caused by roof movements. Regularly inspect and maintain the flashing to catch potential issues early.
Using a Chimney Flashing Kit: Installation Instructions
Chimney flashing kits offer a streamlined solution for DIY enthusiasts. They come with pre-measured pieces, reducing guesswork and errors. This ease of use makes them a popular choice for homeowners.
Start by laying out all pieces included in the kit. Confirm that you have everything needed for a complete installation. Familiarize yourself with any included instructions specific to your kit.
Follow these basic steps for kit installation:
- Measure your chimney’s dimensions.
- Dry-fit the flashing pieces to ensure proper sizing.
- Secure the base and side flashing pieces with nails or screws.
- Install counter-flashing that overlaps side flashing.
- Seal all seams with a waterproof sealant.

Pay attention to the material type and roof compatibility. Kits may not be universal for all chimney structures or roofing types. Always refer to the kit’s user guide for unique installation tips. Regular checks and maintenance will ensure long-term performance.
Chimney Flashing Installation Diagram: Visual Guide
Visual aids can greatly enhance understanding of chimney flashing installation. Diagrams provide a clear view of the required components and placement. They serve as invaluable tools, especially for visual learners.
A detailed installation diagram shows how each flashing type fits around the chimney. It displays the sequence and overlap needed for effective sealing. Analyzing this visual guide before beginning can prevent common mistakes.
Diagrams complement written instructions by offering a layer of clarity. They provide a quick reference point during the installation process, ensuring correct implementation.
Common Chimney Flashing Installation Mistakes to Avoid
Flashing installation errors can lead to costly leaks and repairs. A critical mistake is inadequate overlap between flashing pieces. Proper overlap ensures water is redirected away from vulnerable areas.
Another common error is using the wrong materials for the roof type. Not all flashing materials are suitable for all roofs, leading to premature wear or failure.
Here are some common mistakes to watch for:
- Incorrect overlap of flashing pieces
- Choosing wrong materials for roof type
- Poorly sealed edges and joints
- Ignoring roof pitch during installation
Failing to seal edges and joints properly is also a frequent issue. Water can seep through even the smallest gaps. Always prioritize using quality materials and precise installation techniques. Following these tips can prevent leaks and extend the life of your chimney and roof.
Chimney Flashing Installation Cost: What to Expect
Understanding the cost of chimney flashing installation is crucial for budgeting. Costs can vary due to several factors including material choice and labor rates. On average, homeowners can expect to pay between $300 and $1,500 for a complete installation.
Material selection plays a significant role in the cost. Metal options like copper tend to be pricier but offer superior durability. Aluminum and galvanized steel are more budget-friendly alternatives.
Here’s a breakdown of factors influencing costs:
- Material choice (copper, aluminum, steel)
- Roof and chimney condition
- Labor rates in your area
- Additional repair needs

Regional labor costs greatly impact total expenses. Urban areas often have higher labor prices, affecting the overall budget. Obtaining multiple estimates can help ensure a fair price. By understanding these factors, you can better plan for the expenses associated with chimney flashing installation.
Chimney Repair Methods and Maintenance Tips
Regular maintenance and timely repairs prolong the life of chimney flashing. Early detection of issues can prevent costly water damage. Proper care involves a few key steps to ensure everything remains in good condition.
Inspect the flashing at least twice a year. Look for signs of rust, cracks, or gaps that could lead to leaks. Addressing these issues early helps avoid further damage. During inspections, pay special attention to areas where the flashing meets the roof and chimney.
Effective repair methods include replacing damaged flashing sections. This ensures water is diverted properly. If damage is minimal, sealants can temporarily patch leaks. However, replacing compromised parts is a more permanent solution.
Consider these maintenance tips for long-lasting chimney flashing:
- Schedule regular inspections
- Replace damaged sections promptly
- Use high-quality sealants for minor repairs
- Keep gutters clean to prevent water overflow
Consistent maintenance is key to avoiding unexpected repairs. By adopting a proactive approach, you ensure your chimney flashing provides effective protection for years.
Roof Leak Prevention: Why Proper Flashing Matters
Proper flashing installation is crucial for preventing roof leaks. Flashing acts as a barrier, directing water away from vulnerable areas. If installed incorrectly, it can lead to costly water damage and structural issues.
Water can seep through tiny gaps, causing rot and mold. These issues not only affect roof longevity but also indoor air quality. Properly installed flashing ensures that water flows harmlessly off the roof.
Consider these benefits of proper flashing:
- Prevents water penetration
- Extends roof lifespan
- Protects underlying structures
- Supports healthy indoor environments
Neglecting roof flashing can lead to significant repair bills. By ensuring proper installation and regular maintenance, you avoid unexpected leaks. This proactive approach protects both your home and your investment, ensuring safety and peace of mind.
Troubleshooting and Frequently Asked Questions
Even with careful installation, issues with chimney flashing can arise. Being prepared to troubleshoot problems will save time and money. This section covers common questions and solutions related to chimney flashing issues.
Water leaks are a common concern after flashing installation. Ensure that all flashing layers are secure and check for gaps. If leaks persist, it may indicate a problem with sealing or incorrect placement.
Here are some frequently asked questions about chimney flashing:
- What if I see rust on the flashing? Rust may compromise effectiveness; consider replacement or repair.
- Why is my flashing leaking despite proper installation? Check nearby shingles; they may need replacement.
- Can I perform flashing repairs myself? Yes, but ensure you have the right tools and knowledge.
Regular inspection and maintenance help detect issues early. Addressing minor problems quickly can prevent major repairs in the future.
Conclusion: Ensuring a Leak-Free Chimney for Years to Come
Properly installed chimney flashing is essential to protect your home from water damage. Following the flashing installation guide ensures a durable and effective barrier. By choosing quality materials and executing each step carefully, you enhance the longevity of your roof.
Regular inspections and maintenance are key to a leak-free chimney. Addressing small issues promptly will prevent more significant problems from developing. A well-maintained chimney flashing system is crucial for a dry and comfortable home.
Investing time and effort into learning flashing installation steps pays off in the long run. Whether you use a chimney flashing kit installation or follow traditional methods, the outcome can preserve your roof’s health. With this knowledge, you’re well-equipped to maintain a safe and dry environment in your home.